Not known Facts About Formica Laminate Countertop Catalog - Michigan Kitchen
from web site
How to Cut Formica Countertops for Stoves - Home Guides for Dummies
As soon as the old counter has been gotten rid of and the brand-new countertop has actually been prepared for the existing space, you can merely put it so that it rests upon the leading edges of the existing counters. Drive wood mess up through the cabinet base to protect the counter in location. You can likewise utilize wood glue prior to you situate the countertop for some extra adhesion.
2021 Retro Remodelling All Rights Reserved Website by Anchored StylePlease do not utilize any products without prior consent. Picture by Keith Talley Photography.
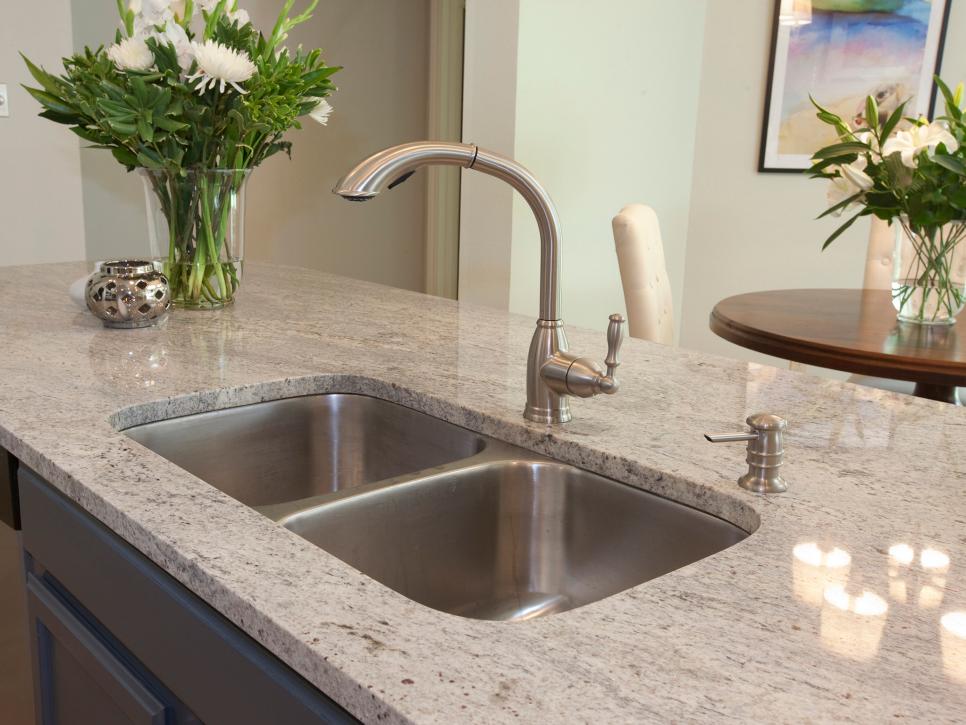
Formica is a plastic laminate item that is available in numerous colors and is produced by a variety of producers. It is a durable product typically utilized for kitchen counter tops. It resists scratches and basic wear. Its only downside is that the lively colors can fade, especially if it is subjected to the extreme rays of the sun.
Sand the whole surface area of the Formica counter with 120-grit sandpaper. Make certain to dull the whole surface area so that there is no shine at all. Clean the counter with a tack fabric to get rid of the sanding dust. Use a vacuum to get rid of dust from any joints. Wash with soapy water to remove dirt, grease and particles, and enable it to dry.
The Best Strategy To Use For Today's laminate countertops — no sighs or yucks in sight
Cover home appliances and floorings with plastic or a ground cloth. Open all doors and windows where possible and utilize exhaust fans to ensure you have appropriate ventilation. Apply an epoxy primer, or a guide formulated for use on Formica counter tops, with a sponge roller to the horizontal surface area of the counter top.
Enable the primer to treat according to the label instructions. Do not apply your overcoat until the primer has actually totally dried. This can take anywhere from a number of hours to 24 hours. Mix two-part epoxy paint, or enamel paint formulated for use on Formica counter tops, according to the label instructions.
Apply the paint with a sponge roller to the horizontal surface area of the counter top. Use a brush to cover the vertical edges and corners as you made with the guide. Allow https://sherlynm-child.blogspot.com to cure according to the label directions and after that use a 2nd coat if required. Do not remove the protective plastic or replace any products on your counter up until the paint has fully dried.

