Not known Facts About Todoist Mac - DrLucy BSloan, DDS
from web site
Seamlessly integrate all of your favorite tools - Monday.com - The Facts
In this short article, we are going to develop a customized combination recipe that changes text in between 2 Text columns on your board in between lowercase and uppercase. SUGGESTIONHere is the link to our Git, Hub repository for this custom combination. In the end it will look similar to this: All integrations in have several dishes related to it.
These are both discovered in a sentence that ties them together. Check For Updates is an event that takes place either in monday. com or another service. The action is the result of this trigger. In monday. com, you have the capability to utilize triggers and actions currently in the platform as well as your own customized ones.
Some Ideas on Wufoo and monday.com You Should Know
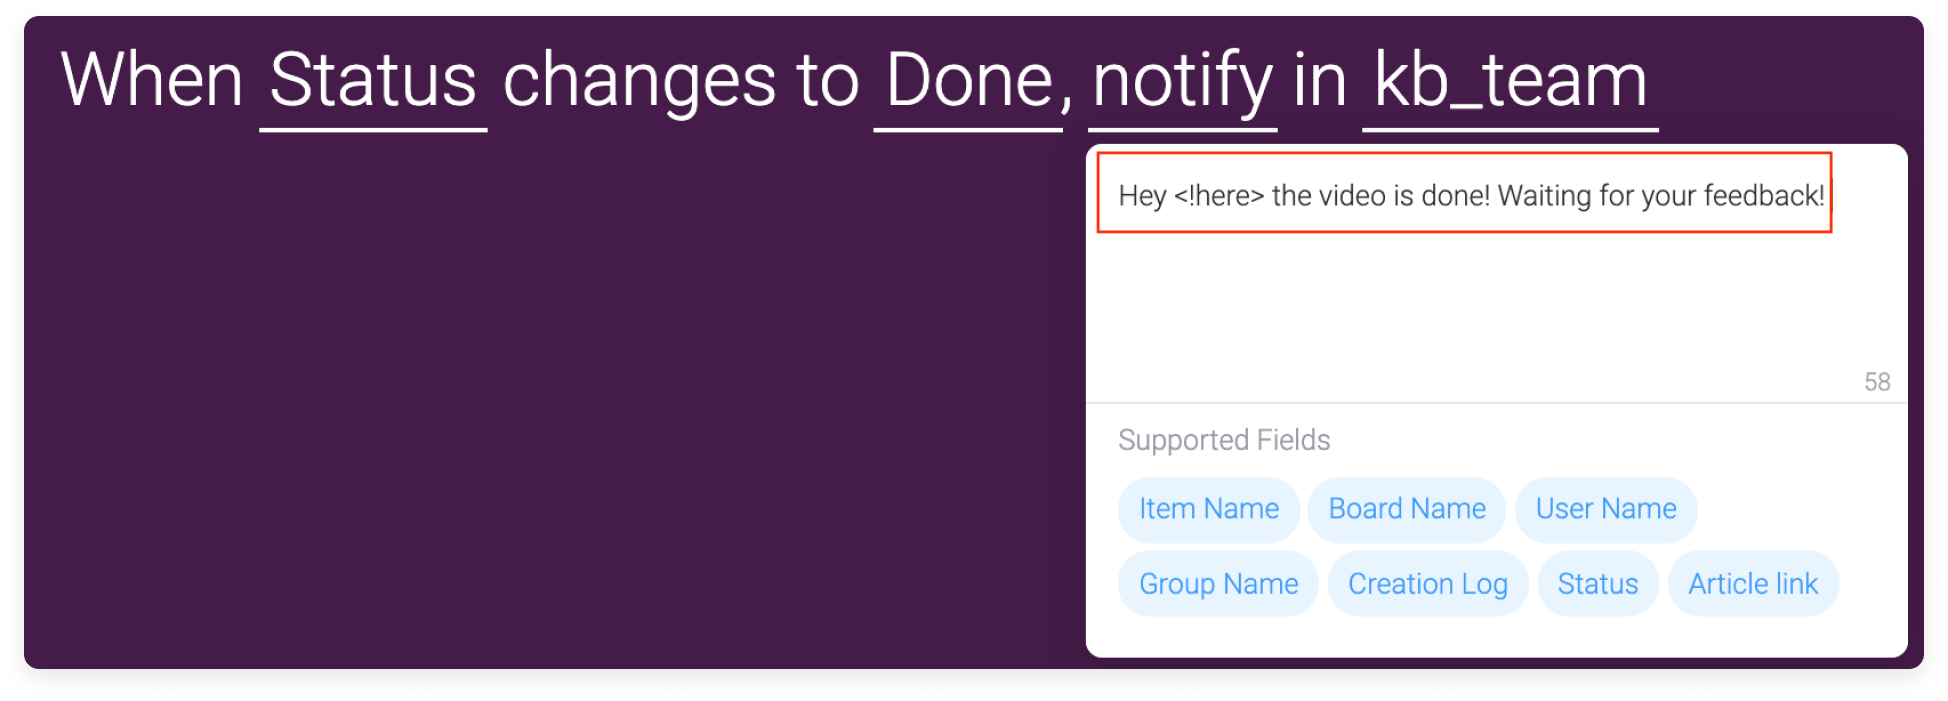
A few examples of dishes you can construct with integrations are: When a is produced in salesforce produce an in monday When modifications to something send email to Each produce and share report from a In this quickstart guide, we'll develop a basic combination that immediately manipulates information from a text column into another text column.
com account, or need one for screening? Register for a complimentary developer account here. To add a combination to your monday app, just click the "Develop Functions" area of your app and choose "Integrations." Next, select the "Quickstart Integration - Node, JS" template to begin. Include the missing scopes, run the command scaffold in your command line, and paste the resulting URL into the URL box.
How To Integrate Monday.com Into Microsoft Teams for Dummies

This is where you can add a title and description to your customized combination dish. The user will see the title and description when they see your recipe in the Integrations Center. After this step, you ought to be able to load up the app for the very first time utilizing your regional tunnel.
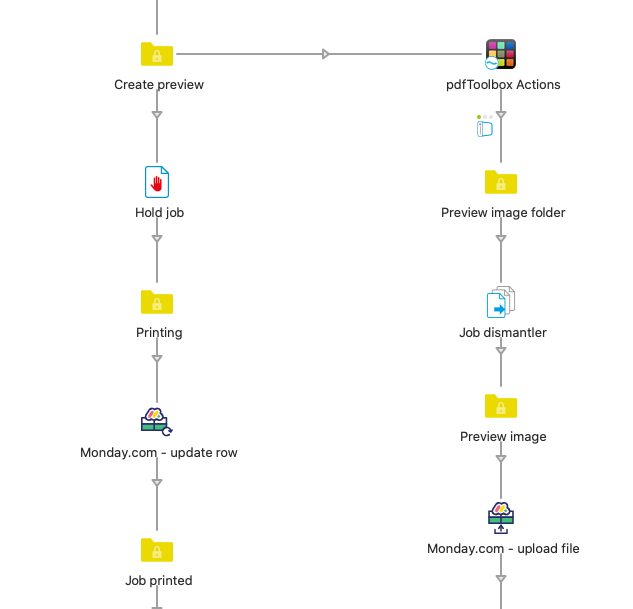
To see how this combination recipe works, clicking into the dish itself to see the "Trigger" and "Action" setups. These have already been implemented for you by means of the template choice you made! This combination utilizes a customized action that calls our API to upgrade a second text column. If you wonder to see the code behind this recipe, browse into the "quickstart-integrations" folder that was downloaded onto your computer after you ran the command line prompt in Part 1.
